Thursday, February 08, 2018

Porcupine Meatballs, An Old Favorite

No actual porcupines are harmed in the making of these meatballs.  The name refers to the grains of rice that stick out from the cooked meatballs!  These were a special comfort food from my kidhood, something Grammy used to make in her big, scary, rattly pressure cooker.

Last weekend I went looking for a recipe that seemed like what I'd seen my grandmother do.  I found one, made a couple of tweaks (more rice, and turkey instead of beef, Trader Joe's tomato soup instead of Campbell's), and they came out fabulous. In the picture, there's no sauce, since I made a double recipe yet didn't double the liquid-- oops. Brought them to a friend's party, and they were less messy that way!


But do make a single recipe and enjoy the wonderful tomato sauce. We used to eat these over mashed potatoes when I was a kid. I was always scared of the pressure cooker when Grammy made them. So happy I can make them now with my multicooker!

Porcupine Meatballs

Adapted from TheSpruce's recipe


  • 1 pound ground turkey
  • 2/3 cup uncooked long grain rice
  • 1/2 teaspoon salt
  • 1/4 teaspoon pepper
  • 1 tablespoons dried shallots
  • 1 box Trader Joes creamy tomato soup


In a large bowl, combine the meat, rice, salt, pepper, and shallots. Shape into small balls about an inch in diameter.

Heat the tomato soup by using the saute function.

Gently drop the meat balls into the soup mixture. Close the pressure cooker cover securely, then bring up to high pressure and cook for 15 minutes.

Let pressure drop of its own accord (natural pressure release). Test with a meat thermometer to make sure that the meat is 160°F. If not, cook for another 3 to 4 minutes after bringing the pressure cooker up to high pressure. Serve over mashed potatoes!

Friday, January 26, 2018

10 Minute Old-Fashioned Chicken Stew

I broke down and did it... I got a multicooker / electric pressure cooker.  Nope, not an Instant Pot.  I'm a die-hard Cooks Illustrated fan, so after reading their review of multicookers, I got a Fagor Lux LCD.  I've been cooking with one for about 5 weeks now, and just remembered I still had my kitchen blog.  Oh yeah!

Tonight's adventure was synthesizing an old-fashioned chicken stew from the various fancy fusion chicken stew recipes I found for Instant Pot.  I couldn't find anything that was quite what I wanted, so I made my own!  It probably took about 30 minutes from start to finish, with 10 minutes of that under pressure.  I chopped my veggies while the chicken was browning, so that cut down on the time.


Strata's 10 Minute Chicken Stew


Saute together, until chicken is browned on one or both sides; sprinkle flour on after first side of chicken is browned.
  • 2 TBSP olive oil
  • 1 - 1.5 pounds boneless chicken thighs, cut into roughly 1-inch cubes
  • 10 large leaves fresh sage
  • 1.5 tsp fresh thyme, or 1 tsp dried thyme
  • ¼ cup white flour


Pour in liquid below and stir well to deglaze pan:

  • 1 cup chicken broth
  • 1 cup water  


Add to cooker, diced into 1-inch cubes:

  • 2 medium parsnips
  • 1 large carrot
  • 3 small or 2 medium yukon gold potatoes
  • 1 stalk celery
  • 4 giant white mushrooms (2 - 3 inches across)


Sprinkle into cooker:

  • 1 TBSP freeze dried shallots (or use 1 finely diced fresh shallot in the saute step)
  • ½ tsp freeze dried minced garlic (or use 2 cloves finely diced in the saute step)
  • ½ tsp salt
  • ¼ tsp pepper


Seal and cook on HIGH for 10 minutes.  Allow to depressurize naturally. Enjoy!

Sunday, January 08, 2017

Apple Pie, Now With Gadget


I've been baking apple pies for years, since I was a kid in 4-H back in New England.  I find the store-made pies too sweet, too expensive, too processed, or all of the above.   Back then I made my own pie crust, but now I cheat and use the pre-made rolled-up crusts you get at the store.  I'm not as fussy about the crust as I am about the filling!

I start with a good old-fashioned recipe, from my WWII-vintage Joy of Cooking.  I like this edition because it has a lot of older recipes, and also has a section on how to compensate for shortages of ingredients, what substitutions you can make.  Fun to read.  Here's the recipe!


Step one is to peel and cut up your apples into small slices.  Small slices cook more evenly and make a more satisfyingly filled pie, without the air holes and irregularities of using big chunks.  The gadget of choice is a modern version of Grandma's apple peeler, now with a vacuum base instead of having to be clamped onto the counter's edge.  


Take a look, it slices as well as peels and cores-- just quarter the apple and toss into a bowl!    Sprinkle with the requisite quantities of apple pie spices, salt, sugar (I use coconut sugar for more depth of flavor), and cornstarch.  The cornstarch soaks up juices and keeps the pie from being drippy.  I like to use the Penzey's Apple Pie Spice mix, to which I add a pinch of ground fenugreek if I have any around (I didn't tonight).  It gives it a muskiness and some punch. 


Lay out your bottom crust and gently fold it into the pan, so that it meets the bottom and sides without pulling or stretching.  Fill it heaping full with your apple mix, and dot some butter on the top for added yumminess.


 Now you can just put a crust on top and cut slits in it for the steam to get out, but I like to have more fun than that.   I like to cut out shapes with mini cookie cutters.   If you want to do this too, lay your top crust out on a surface, and cut out a number of holes.  Gently press the cutouts onto the crust for further decoration-- you need to do this on a flat surface or it won't work well.


Drape the crust over your pie, and press with your fingers around the edges of the pie plate, leaving depressions as you can see in the photo below.   Once you have sealed the pie edges, cut off the excess crust with a knife, tracing around the pie plate.


Very important tip when baking pies-- use a pizza pan or cookie sheet underneath, so that if the pie drips, it doesn't make black burnt stuff in your oven!  That also helps keep the bottom crust from becoming burnt.  For a regular apple pie, bake for about an hour or until the top crust starts to darken.  I ignore the part in the recipe about starting at 450F and then dialing down to 350F, I just bake for an hour at 350F.


The finished pie, cooling on the stove top.  Tah-dah!


Saturday, December 27, 2008

Gluten-Free Holiday Breads

I've had great luck with gluten-free goodies this year. The new flour mixes in Bette Hagman's "The Gluten-Free Gourmet Bakes Bread" are great for baking quickbreads and cookies as well as bread, and the recipes in Rebecca Reilly's "Great Gluten-Free Goodies" have let me add muffins to my breakfast repertoire again. Well, sheet muffins, the 9x13 pan's gift to the lazy. :-)

Rebecca Reilly has gone on to write a full-length book called "Gluten-free Baking", but what I have is a little small-press paperbound book from 1997 which seems like the precursor to her later work. The muffin recipe is easily adapted to blueberry, cranberry-orange, and banana breads, and I've had good luck baking in a sculpted braided pan as well as a glass sheet pan.

I haven't tested this yet, but the claim is that Bette Hagman's 4-flour mix can be substituted cup for cup in recipes calling for ordinary white wheat flour. You just have to add xanthan or guar gum to provide the elasticity, and possibly a little extra leavening. The 4-flour is 3 cups tapioca flour/starch (Asian market!) 3 cups cornstarch, 1 cup sorghum flour, 2 cups garfava bean flour. If you decide to grind your own garbanzo/fava flour, well, I hear you'd better have a fairly bronto stone-burr or steel-burr mill that's rated for tough jobs. The little tabletop mills may not cut the mustard. Ooh, mustard flour, that might be a neat addition to a cornbread. But I digress.

Bob's Red Mill has started selling the latter two in Whole Foods and other natural food stores. I find ordinary (Banned from) Argo cornstarch works fine, and get the tapioca flour from various large Asian markets for about half the cost of the stuff available at Whole Foods (sorry, Bob).

RR is a Cordon Bleu graduate, and apparently in her new book has taken the BH flours to a new level with arrowroot, coconut, and other specialty flours, but I find the BH stuff works for me.

Rose's Modified Muffin Mix
based on Rebecca Reilly's "Basic Muffins"
***DRY***
1.25 cups 4-flour gf flour or Bob's Red Mill GF Baking Mix
.25 tsp sea salt (round it a little)
2.25 tsp baking powder, aluminum-free please
2 Tbsp brown sugar
1 tsp xanthan gum (no magic, centaurs, or puns)
***WET***
2 eggs, large or jumbo
1 cup milk (I use 2%, any kind ok)
2 Tbsp olive oil (little extra if FF milk)

Mix the wet ingredients together and blend well. Put the dry ingredients into a sifter and sift in one big batch into the wet ingredients. Stir in the dry by hand or with a mixer. Add the FLAVOR ingredients and stir or mix in. Pour into a greased pan and bake. 9x13 glass pan, about 40 minutes at 375F. 8x18 metal decorative loaf pan, 40 - 45 mins at 400F. Metal knife will come out clean but damp when done.

Note that these breads are not as sweet as commercial mix or grocery-store-bakery breads. Try making a loaf before adding or removing sugar, though, you might like the flavors shining thru better.

***FLAVORS***
Orange-Cranberry
* substitute half-cup water, half-cup pulpy OJ for the cup of milk, add in WET stage
* generous quantity (1-2 tsp) grated orange zest
* 1 - 1.25 cups loosely chopped fresh cranberries (freeze for easier handling, and add a bit to baking time)
* optional 3/4 cup loosely chopped pecans or walnuts
* .25 tsp each of cardamom, cinnamon, cloves (or a bit more if you like it really jazzed up)
***
Banana
* mash 2 ripe bananas in the bowl and mix well at WET stage; do not subtract anything else!
* .5 tsp nutmeg, .25 tsp cardamom, dash of pumpkin pie spice mix
* 1 cup loosely chopped pecans or walnuts
***
Blueberry
* 1 cup frozen blueberries (big huckleberry type)
or
* 1.25 cup frozen small wild blueberries
* dash of pumpkin pie spice, .5 tsp nutmeg, .5 tsp cardamom
* nuts don't work so well here, but I have thought about adding a half-cup of almond meal for extra protein and to hold the blueb's together better. Hmmm. :-)

Saturday, December 15, 2007

Fresh Now Combo Burritos

Welcome, Weekend Herb Blogging readers!


I noticed that my cilantro has gone wild out in the garden, and it was starting to shade out the young broccoli plants sharing a garden bed with it. Clipping it back would give me a real pile of cilantro. No problem! Avocados are ripe now in California, so it sounds like time to make burritos.


I got a nice bunch of cilantro snipped out of the garden. Because I had a little time, and I like it better this way, I pulled the leaves off the cilantro instead of chopping it whole with the stems. This gives all the goodness of the cilantro without the annoying texture of the stems. Best way to freeze cilantro, too.


I have to say that the colors inside an avocado are my favorite greens. Beautiful! This avocado is one of the types that you can usually only get at the farmer's market, and unfortunately I forgot the name. I'll ask the folks I got it from tomorrow when I go. Did you know there are 7 types of avocados grown here in California? Me neither! I've only seen 2 or 3 in the stores.


Of course we can't do without our delicious winter lettuces, growing here in hydroponic solution in ordinary planters. I could leave it whole, but chose to just tear it up into pieces for the burrito. Make sure it's dry, of course, lest the tortilla suddenly sog away and drop filling on one's lap!


Ta-dah! With some ordinary grilled chicken in Trader Joe's yummy mole sauce (cut with a little mango juice for a nicer finish), some low-fat sour cream, everything comes together for a nice burrito. If I'd found low-carb tortillas, it wouldn't be bad as Atkins or South Beach, either.

Sunday, November 25, 2007

Fresh Fall Snack Plate

Welcome, Weekend Herb Blogging readers!

I love going to Farmer's Markets this time of year. In the summer, not so much, since most of the things there are things I grow myself or don't get excited about. I'll pop in for pluots, apricots, and peaches, none of which (alas) I have here, but that's about it.

In the fall and winter, though, all the folks in the cool coastal areas have been growing their colorful root veggies, yet there are still summer foods from the inland valley farmers, and of course all the marvelous tree fruits.

Some friends of ours who host a social brunch every few months recently had a new baby, and I wanted to put together something special to bring. A fruit and cheese plate of all-local, all-seasonal goodies seemed just perfect!


I started with gorgeous forenschluss (speckled belly) and cimmaron heirloom romaine lettuces from my garden as a plate cover. In the middle, a tasty goat cheese log from either Half Moon Bay or Petaluma (I forget! and the wrapper is long gone!).

Everybody loves pomegranate seeds, but most people hate extracting them from the pomegranate. Plus, they're spectacular, like mounds of living rubies. Some pomegranate seeds on a cracker with goat cheese is a little slice of heaven, believe me-- that tart-sweet burst of flavor, and the creamy richness of the cheese. Yum.

I absolutely adore persimmons, and feel that they're one of the most under-appreciated fruits in the fall harvest pantheon. Most folks think of the hachiya type, the astringent persimmons that need to get soft, pulpy, and generally scary in texture to be delicious. Try an under-ripe slice of a fuyu type persimmon and your lips won't unpucker for days. There is an alternative, however-- the crisp, sweet, spicy fuyu type persimmon. Rounded, like a flattened tomato, rather than pointy like a pepper, the fuyu persimmon can be gloriously crunched like an apple, or sliced for a fruit plate. No scary texture adventures!

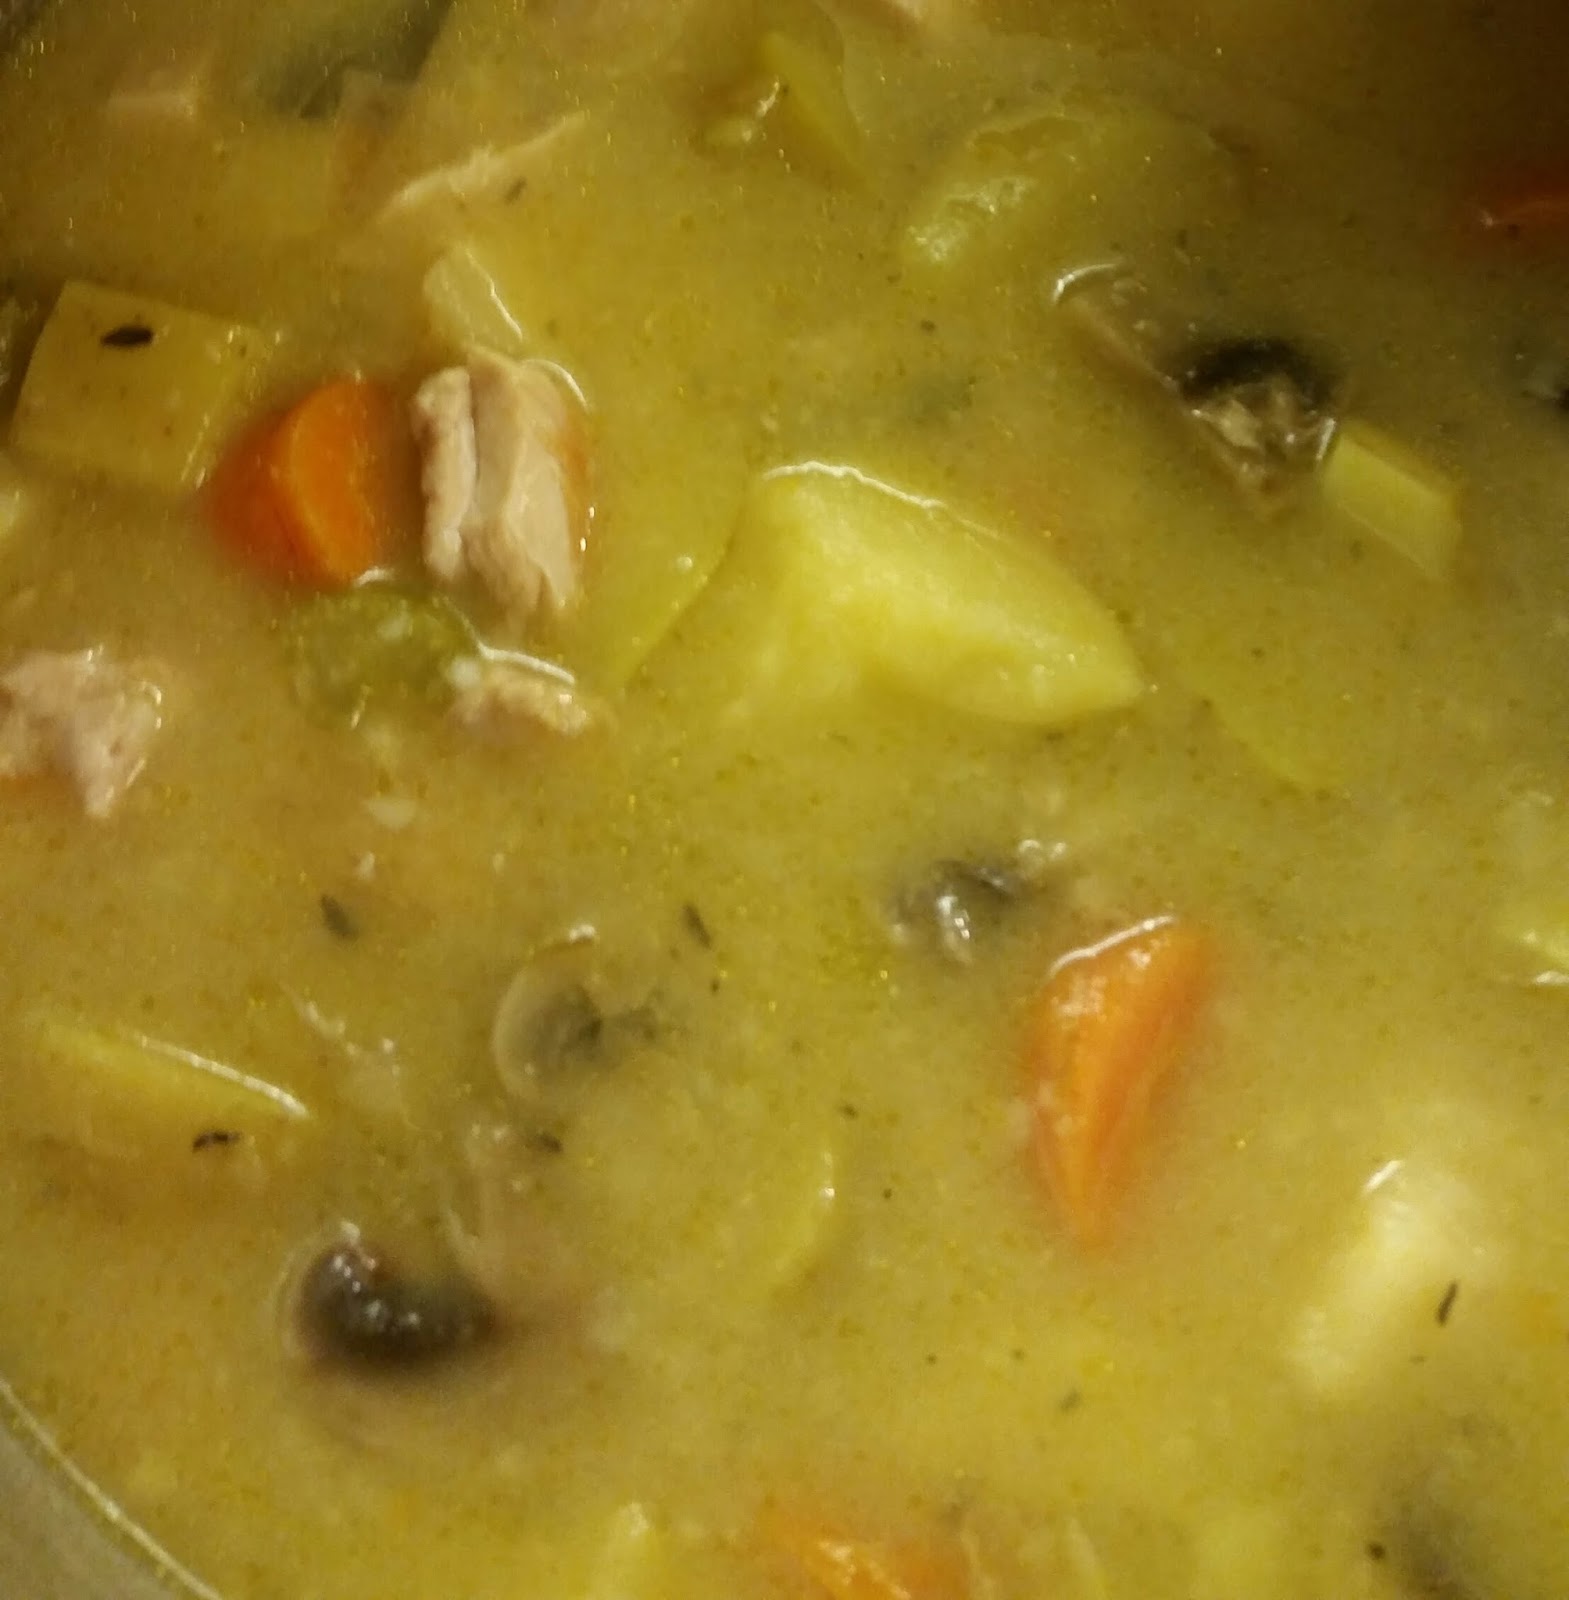
Photo courtesy of freshelectron's FlickR stream, CC-licensed.


Some feel that the flavor of a fuyu persimmon is not as wonderful as that of the hachiya persimmon. I think there's something to that-- for all-out persimmon intensity, the fuyu are marvelous. Bake the pulp into dark sweet quickbread, flavor a special kugel, or make exotic chutnies with it. Hachiya rocks! But the persimmon which sells itself to food skeptics, nervously turning over a slice in their fingers, is the friendly fuyu.


Finally, as a decorative yet practical touch, the nasturtiums. The hotheads who enjoy wasabi, Chinese mustard, and other sinus-popping fare will welcome a fiery nasturtium leaf on their cracker of goat cheese, or perhaps even wrapped, by itself, around a few pomegranate seeds. The flowers, lovely and spicy-sweet, are a real treat. Gather them first thing in the morning, before it warms up, and you can even beat the ants to them. Do inspect them carefully as you garnish, though!

I don't rinse the flowers, as we garden naturally and haven't had to spray soap or pepper for aphids on them this fall. Rinsing can rinse out the nectar reservoir in the back of the flower, which is a big part of why the flower is so awesome to eat. These are from our side yard. They've recovered from the August heat, and make a gorgeous cascade along the trellis.


I don't publish recipes here as often as I'd like, but there's plenty of action over at My Bay Area Garden!

Saturday, July 15, 2006

Summer Carrots with a Snap

I have been so busy lately that while I've taken photos, I haven't had time to write up the things I've been cooking out of the garden. We've gloried in wonderful heirloom golden, chiogga, and oxheart beets, just steamed in their sweet fullness. The Asian spinach came to center stage again recently, with fresh figs and chickpeas in a yummy saute. Another balsamic saute of portobello, rainbow chard, and fresh summer squash was consumed with gusto. But writing this stuff up always seems to get put off! So I have missed Weekend Herb Blogging for two or three weeks in a row, despite my best intentions.

This weekend, though, I really wanted to make an appearance, so here is my very simple steamed carrot dish, a five-minute microwave special! This is the first year that I've grown carrots with any success. The raised beds with 'fluffy' planting mix apparently were the bee's knees, and I got beautiful, stocky Royal Chantenay carrots in abundance. For full disclosure, of course, you see some of the baby ones that got pulled by mistake with the biggies, and a little 'hourglass' carrot that was elbowed rudely by a beet, and thus formed oddly. In a 12-inch raised bed, I could grow Nantes or various other long carrots, and almost certainly will do so later on. There are lovely little ball-shaped carrots that I want to try in my 9-inch self-watering planters, for instance. I had gotten the Royal Chantenay seed as a good carrot for our tough clay soil, as it doesn't have to drill down as far. Since I already had some on hand, I just used that.

If you want a sweet, glazed carrot recipe, this is not it! While sharing some ingredients with one, this recipe brings out the full earthiness of the carrots, and chases it with a snap! of ginger, hence the name. Please note also the little cup behind the casserole dish. I've started setting out a clean cup whenever I prepare veggies. When the prep is done, I add whatever I had to trim off into a plastic bag I'm keeping in the freezer. When I have enough, or feel like it, I'll use these trimmings to simmer down for stock, then strain them out and discard or compost. Of course, if you trim off something because it is sprouted, gone bad, or you find a bug in it, don't save that! :-)

Summer Carrots with a Snap


  • 3 - 4 cups fresh raw carrots, cut into thick wedges
  • Tablespoon of sesame seed
  • Quarter to half teaspoon of ground ginger
  • Teaspoon of honey
  • Water
  • Casserole dish with cover
  • Microwave


Into the casserole dish, put about a fingernail's depth of water. Add the raw carrots, and sprinkle the sesame seeds and ginger on top. Drizzle the honey over the carrots. Cover, and microwave on high for 3 minutes for still-crunchy carrots, and 5 minutes for fork-tender carrots. Note that the 5-minute carrots will lose more of their wonderful orange color, so you might want to try 3 - 4 minutes and see if your eaters are fussy about chewing. :-) I think if I'd used less water, the carrots might have kept more color. Will try that on the next batch.